我网站基本每个模块功能都完善好了,但很早之前就一直想弄人脸识别登录这块,感觉这个会很新颖,直到我逛到一个大佬的3分钟搞定web人脸识别登录博客,瞬间决心开搞了,该博主后端是java的,对接的虹软的sdk,前端人脸识别使用的是tracking.js,这个是开源的,可以到官网下载,前端识别这块很容易,最难的就是后端接受前端的用户人脸图片,分别和数据库中所有的用户进行一一对比,如果对比度高于0.8的,那么这个用户实现登录,原本我打算使用python现有的库face_recognition来实现,发现对比一张图片最少就要耗费7-8秒,要是数据库有几万个用户,这得到猴年马月,因此开始寻找第三方sdk,发现这方面做的厉害的就虹软了,速度贼快又完全免费还支持离线使用,唯一的缺点是只有java和c++的sdk,不过有大佬已经写出了python的sdk,那就好办,开始撸代码,先开始前端的人脸识别代码,如下
{% load static %}
<!doctype html>
<html>
<head>
    <meta charset="utf-8">
    <title>人脸识别</title>
    <script src="../static/faceJs/tracking-min.js"></script>
    <script src="../static/faceJs/face-min.js"></script>
    <script src="../static/faceJs/stats.min.js"></script>
    <script src="../static/faceJs/vue.min.js" type="text/javascript"></script>
    <script src="https://unpkg.com/axios/dist/axios.min.js"></script>
    <script src="{% static 'jquery-2.2.1.min.js' %}"></script>
    <!--    <link rel="stylesheet" href="/css/face.css">-->
    <style>
        .body-bg {
            background: url("https://img.codingchangeworld.com/staticFile/1.jpg");
            position: fixed;
            top: 0;
            left: 0;
            width: 100%;
            height: 100%;
            min-width: 1000px;
            z-index: -10;
            zoom: 1;
            background-repeat: no-repeat;
            background-size: cover;
            -webkit-background-size: cover;
            -o-background-size: cover;
            background-position: center 0;
        }

        .filmvideo {
            margin: 200px auto;
            width: 600px;
            height: 400px;
            display: block;
            clear: both;
        }

        .take-photo {
            position: relative;
            z-index: 99999;
        }

        .title {
            text-align: center;
            color: white;
            margin: -50px auto;
            font-size: 18px;
        }

        .close {
            width: 0.8rem;
            height: 0.8rem;
            text-align: center;
            margin: -50px auto;
        }

        .rect {
            border: 2px solid #0aeb08;
            position: fixed;
            z-index: 3;
        }

        .imgpre {
            width: 500px;
            height: 400px;
            display: block;
            clear: both;
            position: absolute;
            margin: 0px auto;
            left: 0;
            right: 0;
            z-index: 7;
            border-radius: 10px;
        }

        video, canvas {
            width: 500px;
            height: 400px;
            margin: 0px auto;
            position: absolute;
            left: 0;
            right: 0;
            border-radius: 10px;
        }

        .scanTip {
            padding-top: 100px;
            padding-bottom: 40px;
            position: relative;
            z-index: 99999;
            text-align: center;
            color: white;
            margin: 0px auto;
            font-size: 18px;
        }

        .WgciCg {
            backdrop-filter: blur(2px);
            background: linear-gradient(180deg, rgba(0, 0, 0, .8), rgba(0, 0, 0, .4), rgba(0, 0, 0, .8));
            min-height: 100%;
            height: 100%;
            width: 100%;
            position: fixed;
            top: 0;
            left: 0;
            right: 0;
            z-index: 1;
        }

    </style>
</head>

<body>
<div id="face_login">
    <div v-if="!isLoading" class="body-bg">
        <div class="WgciCg LCN0VA"></div>
        {% verbatim %}
        <h2 class="scanTip">

                {{ scanTip }}

        </h2>
        {% endverbatim %}
        <div v-show="showContainer" class="take-photo">
            <video ref="refVideo" id="video" width="500" height="400" preload autoplay loop muted></video>
            <canvas ref="refCanvas" id="canvas" width="500" height="400"></canvas>
        </div>
        <img v-show="!showContainer" :src="imgUrl" width="500" height="400" class="imgpre"/>
    </div>
</div>
<script src="{% static 'layer/layer.js' %}"></script>
<script>

    const app = new Vue({
        el: "#face_login",
        data() {
            return {
                showContainer: true,   // 显示
                tracker: null,
                tipFlag: false,         // 提示用户已经检测到
                flag: false,            // 判断是否已经拍照
                context: null,          // canvas上下文
                removePhotoID: null,    // 停止转换图片
                scanTip: '正在调取摄像头...', // 提示文字
                imgUrl: '',              // base64格式图片
                canvas: null,
                video: null,
                streamIns: null,      // 视频流
                isLoading: false,
                userData: ''
            }
        },
        mounted() {
            this.playVideo()
        },
        methods: {

            // 访问用户媒体设备
            getUserMedia(constrains, success, error) {
                if (navigator.mediaDevices.getUserMedia) {
                    // 最新标准API
                    navigator.mediaDevices.getUserMedia(constrains).then(success).catch(error);
                } else if (navigator.webkitGetUserMedia) {
                    // webkit内核浏览器
                    navigator.webkitGetUserMedia(constrains).then(success).catch(error);
                } else if (navigator.mozGetUserMedia) {
                    // Firefox浏览器
                    // eslint-disable-next-line no-undef
                    navagator.mozGetUserMedia(constrains).then(success).catch(error);
                } else if (navigator.getUserMedia) {
                    // 旧版API
                    navigator.getUserMedia(constrains).then(success).catch(error);
                } else {
                    this.scanTip = "你的浏览器不支持访问用户媒体设备"
                }
            },
            success(stream) {
                this.streamIns = stream
                // webkit内核浏览器
                this.URL = window.URL || window.webkitURL
                if ("srcObject" in this.$refs.refVideo) {
                    this.$refs.refVideo.srcObject = stream
                } else {
                    this.$refs.refVideo.src = this.URL.createObjectURL(stream)
                }
                this.$refs.refVideo.onloadedmetadata = e => {
                    this.$refs.refVideo.play()
                }
            },
            error(e) {
                this.scanTip = "访问用户媒体失败" + e.name + "," + e.message
            },

            playVideo() {
                this.getUserMedia({
                    video: {
                        width: 500, height: 400, facingMode: "user"
                    }     /* 前置优先 */
                }, this.success, this.error)

                this.video = document.getElementById('video')
                this.canvas = document.getElementById('canvas')
                this.context = this.canvas.getContext('2d')
                // eslint-disable-next-line no-undef
                this.tracker = new tracking.ObjectTracker('face')
                this.tracker.setInitialScale(4)
                this.tracker.setStepSize(2)
                this.tracker.setEdgesDensity(0.1)

                // eslint-disable-next-line no-undef
                tracking.track('#video', this.tracker, {camera: true})

                this.tracker.on('track', this.handleTracked)
            },

            handleTracked(event) {
                this.context.clearRect(0, 0, this.canvas.width, this.canvas.height)
                if (event.data.length === 0) {
                    this.scanTip = '未识别到人脸'
                } else {
                    if (!this.tipFlag) {
                        this.scanTip = '识别到人脸,请保持当前姿势~'
                    }
                    // 1秒后拍照,仅拍一次
                    if (!this.flag) {
                        this.scanTip = '拍照中...'
                        this.flag = true
                        this.removePhotoID = setTimeout(() => {
                                this.tackPhoto()
                                this.tipFlag = true
                            },
                            2000
                        )
                    }
                    event.data.forEach(this.plot)
                }
            },

            plot(rect) {
                this.context.strokeStyle = '#eb652e'
                this.context.strokeRect(rect.x, rect.y, rect.width, rect.height)
                this.context.font = '11px Helvetica'
                this.context.fillStyle = '#fff'
                this.context.fillText('x: ' + rect.x + 'px', rect.x + rect.width + 5, rect.y + 11)
                this.context.fillText('y: ' + rect.y + 'px', rect.x + rect.width + 5, rect.y + 22)
            },

            // 拍照
            tackPhoto() {
                this.context.drawImage(this.$refs.refVideo, 0, 0, 500, 400)
                // 保存为base64格式
                this.imgUrl = this.saveAsPNG(this.$refs.refCanvas)
                var formData = new FormData()
                formData.append('file', this.imgUrl)

                axios({
                    method: 'post',
                    url: "/faceImg/",
                    data: formData,
                }).then(function (response) {
                    var next_url = response.data['next'];
                    if(response.data['success'])
                    {
                        layer.msg("人脸识别成功!正在跳转页面",{
                            time:2000,
                            btn:["确定","取消"]
                        });
                        function redirect(){
                            window.location.href = next_url;
                        }
                        window.setTimeout(redirect
                            ,2000);

                    }
                    if(response.data['error'])
                    {
                        alert("请退出登录");
                        window.location.href = next_url;
                    }
                    if(response.data['waring'])
                    {
                        layer.msg("人脸不匹配!",{
                            time:3000,
                            btn:["确定","取消"]
                        });
                        function redirect(){
                            window.location.href = next_url;
                        }
                        window.setTimeout(redirect
                            ,2000);
                    }
                    if(response.data['info'])
                    {
                        layer.msg("请先登录上传人脸图片!",{
                            time:3000,
                            btn:["确定","取消"]
                        });
                        function redirect(){
                            window.location.href = next_url;
                        }
                        window.setTimeout(redirect
                            ,2000);
                    }

                }).catch(function (error) {
                    console.log(error);
                });


                this.close()
                this.scanTip = '登录中,请稍等~'
                this.isLoading = true
            },

            // 保存为png,base64格式图片
            saveAsPNG(c) {
                return c.toDataURL('image/png', 0.3)
            },

            // 关闭并清理资源
            close() {
                this.video.srcObject.getTracks()[0].stop()
                this.flag = false
                this.tipFlag = false
                this.showContainer = false
                this.tracker && this.tracker.removeListener('track', this.handleTracked) && tracking.track('#video', this.tracker, {camera: false})
                this.tracker = null
                this.context = null
                this.scanTip = ''
                clearTimeout(this.removePhotoID)
                if (this.streamIns) {
                    this.streamIns.enabled = false
                    this.streamIns.getTracks()[0].stop()
                    this.streamIns.getVideoTracks()[0].stop()
                }
                this.streamIns = null
            },
        }
    })
</script>

</body>
</html>
将获取的人脸图片转为base64通过axios发送给后端,我们来看下后端的数据接受代码如下
class GetFaceImg(View):
    def post(self,request):
        #判断用户是否登录
        if request.user.is_authenticated:
            return JsonResponse({'error':'请退出登录','next':'/'})

        #获取前端用户的人脸
        base_64_img = bytes(request.body).decode().split(',')[-1].split('------')[0]
        #获取数据库中所有的用户已上传的人脸照片一一对比,找到对比度大于0.8的即为要登录的用户

        all_face_img = UserProfile.objects.filter(faceImage__isnull=False).values()
        # 跳转
        next = request.session.get('next')

        if next:
            next_url = next
        else:
            next_url = '/'
        if not all_face_img:
            return JsonResponse({'info':'请先登录上传人脸图片!','next':next_url})

        for singer_face in all_face_img:
            face_img_url = singer_face.get('faceImage')
            img_data = urlopen(face_img_url).read()
            same_core = get_face_same_code(img_data,base_64_img)
            print(same_core)
            if same_core >= 0.8:
                print('登录成功')
                local_name = singer_face.get('username')
                #获取明文密码
                local_password = singer_face.get('no_secret_password')
                user = authenticate(username=local_name,password=local_password)
                print(user)
                if user is not None:
                    # 如果查询到用户就登录
                    login(request, user)

                    return JsonResponse({'success':'人脸匹配成功!正在跳转页面...','next':next_url})

        return JsonResponse({'waring':'人脸不匹配','next':next_url})
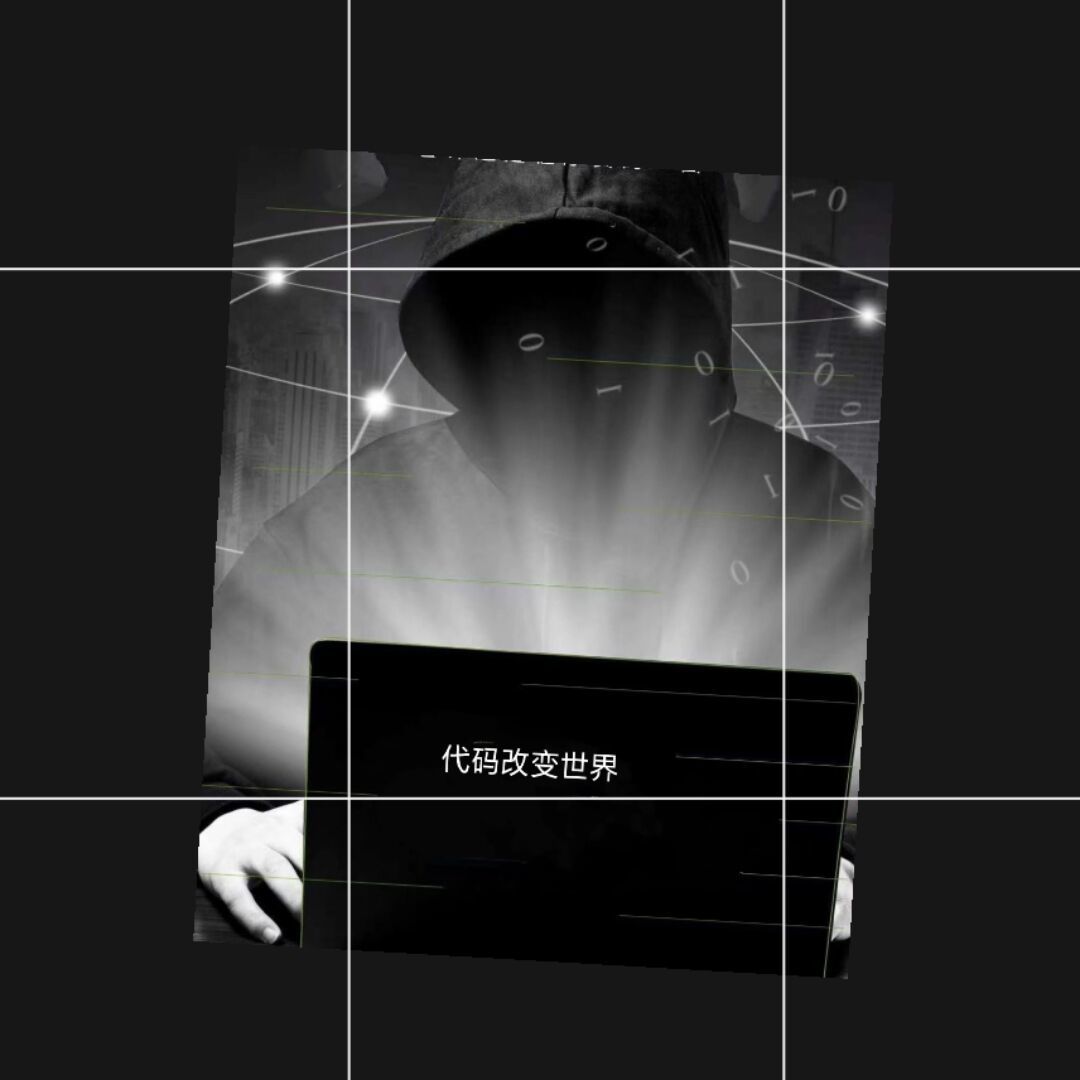
这个对比函数是我改装后的sdk,sdk地址在这里gitee 。对比函数是一张来自前端用户的图片,和一张用户之前上传的图片来对比,如图所示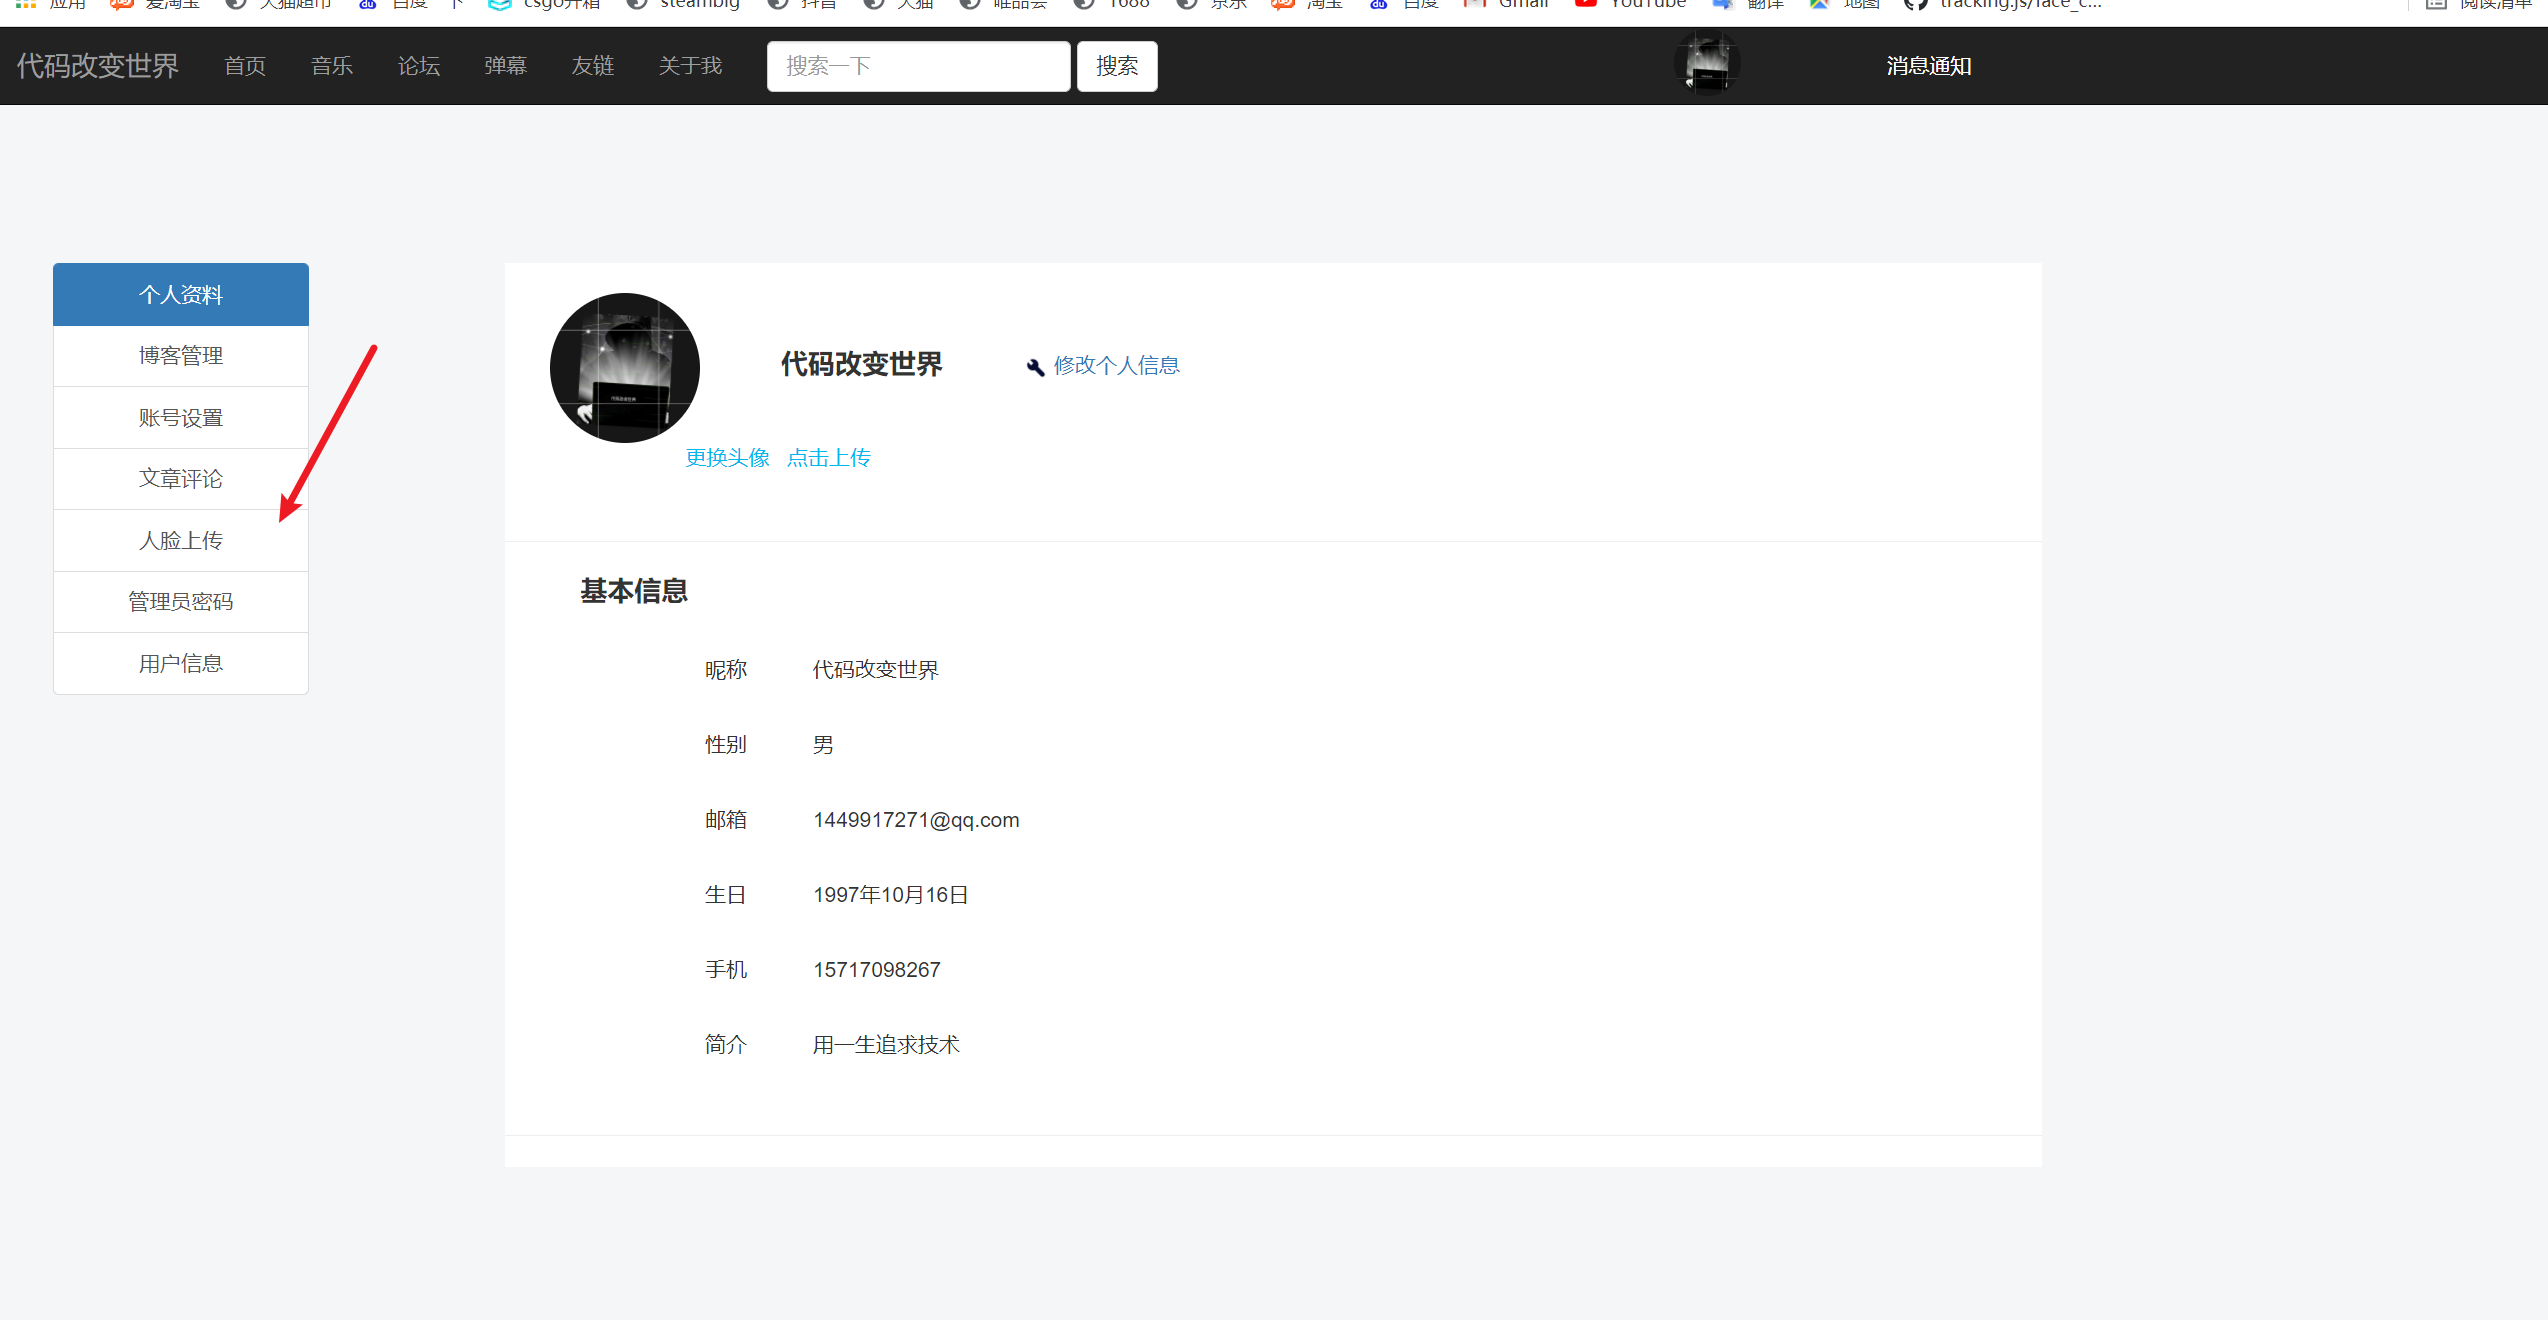
接下来就是获取虹软的appId和key,这里创建项目时选择c++,然后选择windows,接着下载sdk将lib文件夹里面的2个dll放入gitee上说的里面即可,gitee中的demo.py代码这里我改了下,代码如下所示
import cv2
from  .arcface.engine import *
import base64
import numpy as np

def get_face_same_code(uploadImgUrl=None,faceBaseImg=None):#第一个参数为用户提交的人脸图片  第二个参数为前端识别到的人脸图片
    APPID = b''
    SDKKey = b''

    #激活接口,首次需联网激活
    res = ASFOnlineActivation(APPID, SDKKey)
    if (MOK != res and MERR_ASF_ALREADY_ACTIVATED != res):
        print("ASFActivation fail: {}".format(res))
    else:
        print("ASFActivation sucess: {}".format(res))

    # 获取激活文件信息
    res,activeFileInfo = ASFGetActiveFileInfo()

    if (res != MOK):
        print("ASFGetActiveFileInfo fail: {}".format(res))
    else:
        print(activeFileInfo)

    # 获取人脸识别引擎
    face_engine = ArcFace()

    # 需要引擎开启的功能
    mask = ASF_FACE_DETECT | ASF_FACERECOGNITION | ASF_AGE | ASF_GENDER |ASF_FACE3DANGLE | ASF_LIVENESS | ASF_IR_LIVENESS

    # 初始化接口
    res = face_engine.ASFInitEngine(ASF_DETECT_MODE_IMAGE,ASF_OP_0_ONLY,30,10,mask)
    if (res != MOK):

        print("ASFInitEngine fail: {}".format(res) )
    else:
        print("ASFInitEngine sucess: {}".format(res))
    # base64转cv2
    def base64_to_cv2(base64_code):
        img_data = base64.b64decode(base64_code)
        img_array = np.fromstring(img_data, np.uint8)
        img = cv2.imdecode(img_array, cv2.COLOR_RGB2BGR)

        return img

    # 将图片二进制流转为CV2格式
    def data_to_cv2(img_data):
        buf = np.frombuffer(img_data, dtype=np.uint8)
        return cv2.imdecode(buf, cv2.COLOR_RGB2BGR)


    # RGB图像
    if  not faceBaseImg:#如果只是单纯用户提交人脸数据

        img1 = data_to_cv2(uploadImgUrl)

        # 检测第一张图中的人脸
        res, detectedFaces1 = face_engine.ASFDetectFaces(img1)

        if res == MOK:
            single_detected_face1 = ASF_SingleFaceInfo()
            single_detected_face1.faceRect = detectedFaces1.faceRect[0]
            single_detected_face1.faceOrient = detectedFaces1.faceOrient[0]
            res, face_feature1 = face_engine.ASFFaceFeatureExtract(img1, single_detected_face1)
            # 如果没有人脸
            if (res != MOK):
                return 0
            else:
                return 1


        else:

            return 0
    #如果2个参数都有
    else:
        img1 = data_to_cv2(uploadImgUrl)
        img2 = base64_to_cv2(faceBaseImg)


        #检测第一张图中的人脸
        res,detectedFaces1 = face_engine.ASFDetectFaces(img1)

        if res==MOK:
            single_detected_face1 = ASF_SingleFaceInfo()
            single_detected_face1.faceRect = detectedFaces1.faceRect[0]
            single_detected_face1.faceOrient = detectedFaces1.faceOrient[0]
            res ,face_feature1= face_engine.ASFFaceFeatureExtract(img1,single_detected_face1)
            #如果没有人脸
            if (res!=MOK):

                print ("ASFFaceFeatureExtract 1 fail: {}".format(res))

        else:

            print("ASFDetectFaces 1 fail: {}".format(res))

        #检测第二张图中的人脸
        res,detectedFaces2 = face_engine.ASFDetectFaces(img2)
        if res==MOK:
            single_detected_face2 = ASF_SingleFaceInfo()
            print('single_detected_face2',single_detected_face2)
            single_detected_face2.faceRect = detectedFaces2.faceRect[0]
            single_detected_face2.faceOrient = detectedFaces2.faceOrient[0]
            res ,face_feature2= face_engine.ASFFaceFeatureExtract(img2,single_detected_face2)
            if (res==MOK):
                pass
            else:
                #如果没有人脸

                print ("ASFFaceFeatureExtract 2 fail: {}".format(res))
        else:
            print("ASFDetectFaces 2 fail: {}".format(res))


        #比较两个人脸的相似度
        res,score = face_engine.ASFFaceFeatureCompare(face_feature1,face_feature2)

        return score
其他的都不用动,然后就完美实现了,开始部署到linnux,这里注意的是linux必须将之前的dll换成so后缀名,gitee里面很详细写着,效果直接看我网站的人脸登录识别。
如果上述代码帮助您很多,可以打赏下以减少服务器的开支吗,万分感谢!


 赣公网安备 36092402000079号
点击此处登录后即可评论